In today's digital age, capturing moments through photographs has become more convenient than ever, thanks to the remarkable camera capabilities of our smartphones. The iPhone, in particular, has revolutionized how we document our lives. However, as our photo libraries grow, it becomes essential to transfer these precious memories to a more secure and accessible storage solution, such as a Mac. In this step-by-step guide, you will learn various methods on how to get photos from Iphone to Mac, ensuring that your memories are safely preserved and easily accessible whenever needed.
How to Get Photos From Iphone To Mac: Different Methods
Before diving into the various methods of transferring photos from your iPhone to your Mac, it is crucial to understand the options available. Apple provides several built-in features and tools that simplify the process, catering to different preferences and needs.
How to get Photos From Iphone To Mac: Method 1: Using the iCloud Photo Library
The iCloud Photo Library is a powerful feature that seamlessly synchronizes your photos across all your Apple devices. To enable this feature and transfer your photos to your Mac, follow these steps:
Open "Settings" and tap on your name.
Select "iCloud" and then "Photos."
Toggle on the "iCloud Photos" option.
On your Mac, open the "Photos" app.
Click "Photos" in the top menu and select "Preferences."
In the "iCloud" tab, check the box next to "iCloud Photos."
Your photos will now sync to your Mac automatically.
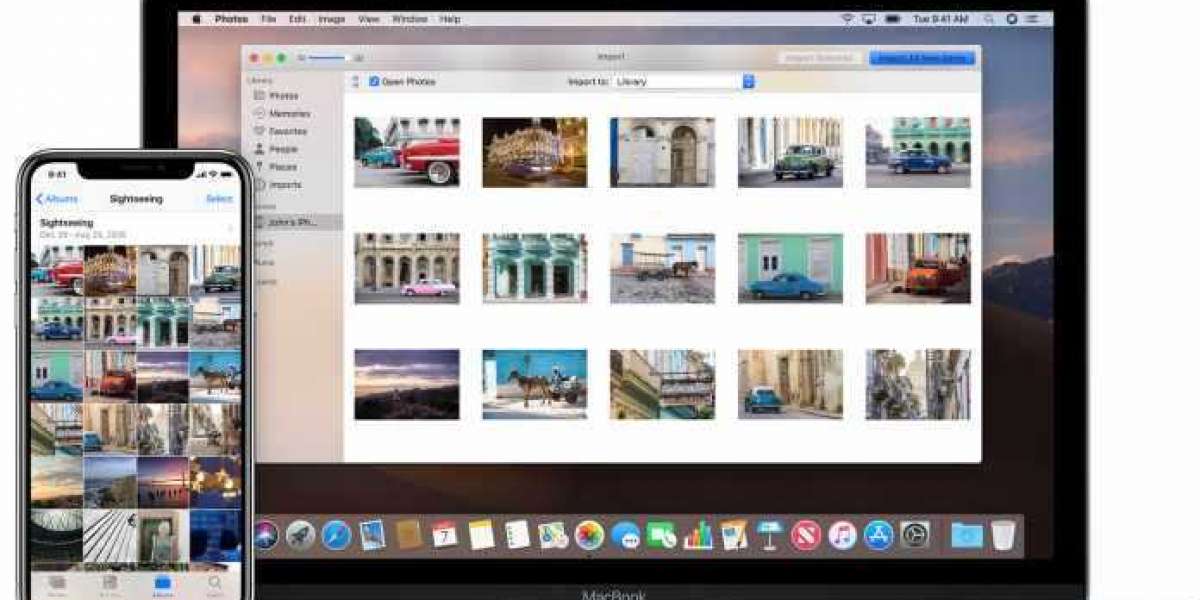
Method 2: Using the Photos app
If you prefer a more direct approach without relying on iCloud, the Photos app offers a simple and efficient way to transfer your photos. Here's how you can do it:
Connect iPhone to Mac by a USB.
Open the "Photos" app on your Mac.
Click "File" and choose "Import."
Choose the photos you want to transfer and click "Import Selected" or "Import All."
Method 3: Using AirDrop
AirDrop wirelessly transfers photos and other files between your iPhone and Mac with just a few taps. Follow these steps to use AirDrop for photo transfer:
On your iPhone, open the photo you want to transfer.
Tap the "Share" button (usually represented by a square with an arrow pointing upwards).
You will see a list of available devices; select your Mac.
On your Mac, an AirDrop window will appear, asking you to accept the transfer.
Click "Accept" to transfer the photo to your Mac.
Method 4: Using a USB cable
If you prefer a more traditional approach, using a USB cable to transfer photos from your iPhone to your Mac is reliable. Here's how you can do it:
Connect iPhone to Mac.
Unlock your iPhone and, if prompted, trust the computer.
On your Mac, Photos will automatically open. If not, open the app manually.
Choose your iPhone from the Photos app.
Choose the photos you want to transfer and click "Import Selected" or "Import All."
Conclusion:
Following this step-by-step guide teaches you various methods on how to get photos from Iphone to Mac. Whether you prefer the convenience of iCloud, the simplicity of the Photos app, the speed of AirDrop, or the reliability of a USB cable, there is a solution that suits your needs.